How to Put an Image in Wplace: The Safe, 3-Step Guide
If you've ever wondered how to put an image in Wplace, you're not alone. Many newcomers assume they can simply "upload" a picture directly to the canvas—but that's not how Wplace works. Wplace doesn't allow direct image uploads. Instead, you need to follow a specific 3-step process using overlay tools and manual pixel placement.

This guide will show you the correct, compliant method to place your image on Wplace using color conversion, template generation, and overlay alignment. Most importantly, we'll cover the safety rules you must follow to avoid account penalties.
Important: Wplace prohibits automated bots and multi-account coordination. The method described here uses overlay tools for visual guidance only—you must still place each pixel manually.
Step 1 — Convert Your Image to the Official Wplace Palette
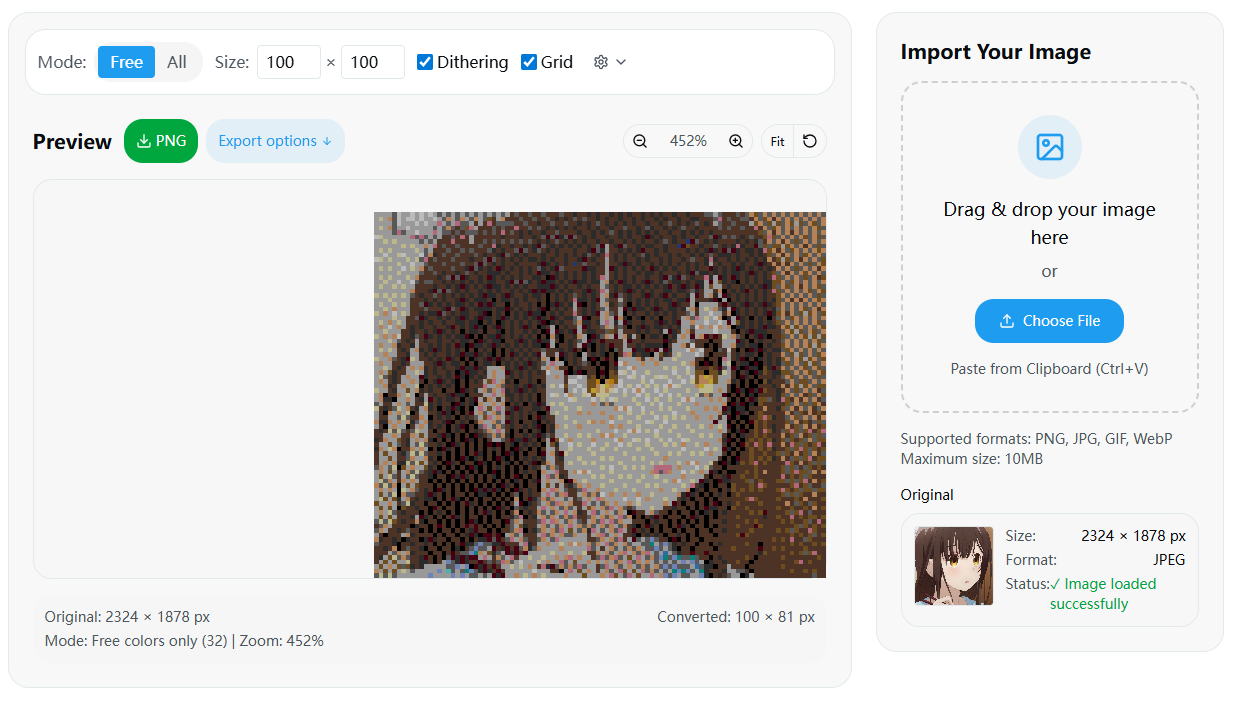
Wplace uses a specific color palette (approximately 64 colors with free and premium tiers that may vary by version). Before you can recreate any image on Wplace, you must first convert it to match the platform's available colors.
Understanding the Color System
The Wplace color system is designed to maintain visual consistency across the entire canvas. Here's what you need to know:
- Free Colors: Available to all users without restrictions
- Premium Colors: May require special access or conditions
- Platform-Specific Palette: Always check the current in-game color palette as the exact count and availability may change with updates
- No Custom Colors: You cannot use colors outside the official palette
Converting Your Image
To convert your image to Wplace colors:
- Prepare your original image: Ensure it's high contrast and appropriately sized
- Use a color converter tool: Our Wplace Palette converter can automatically map your image to the official colors
- Review the conversion: Check that important details are preserved
- Export the result: Save your converted image for template generation
Pro Tip: Images with high contrast and simple designs typically convert better than complex photographs.
Step 2 — Generate a Template and Choose Your Overlay Tool
Once your image is converted to Wplace colors, you need to create a template and select an overlay tool to help you place it accurately on the canvas.
Creating Your Template
A template is essentially a reference image that overlay tools can display over the Wplace canvas. Generate your template using our Template Generator by:
- Using template generation tools (format support varies: Blue Marble primarily uses PNG/WEBP, while other tools may support JSON or custom coordinate formats)
- Ensuring the template matches your target canvas size at 1:1 pixel ratio
- Setting transparent backgrounds for empty areas
- Noting the exact coordinates where you want to place your image
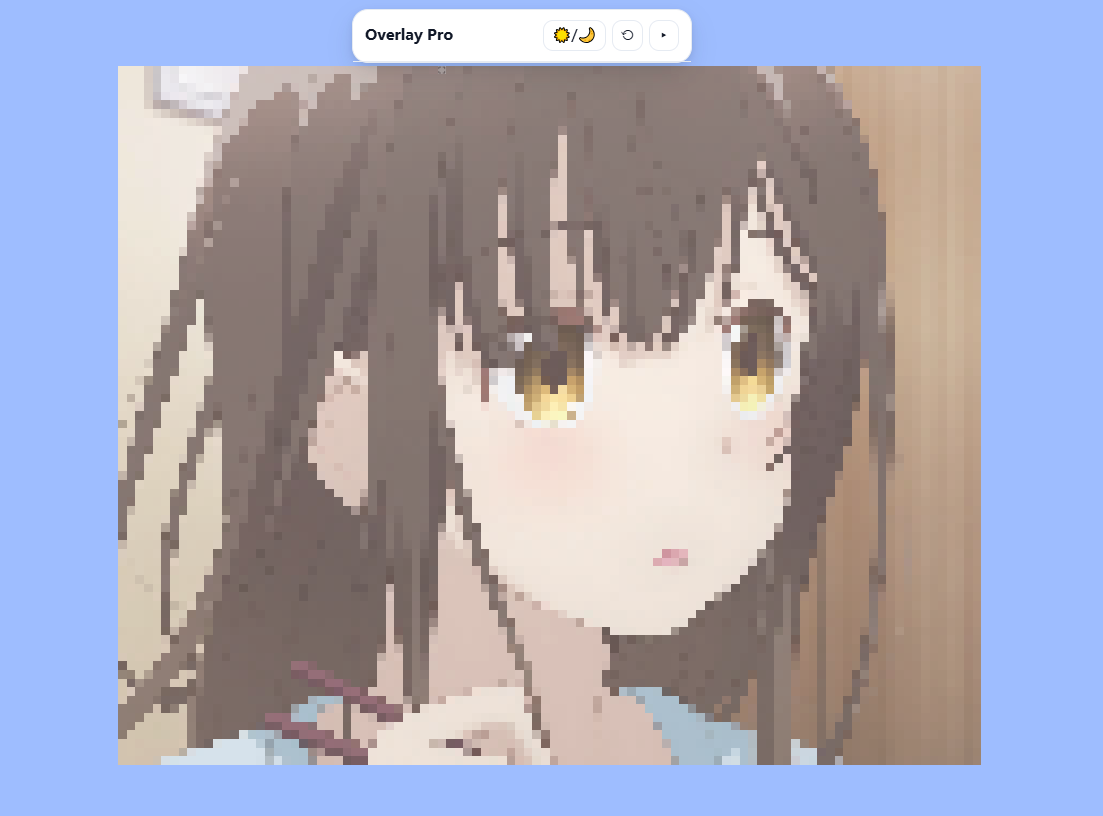
Choosing the Right Overlay Tool
There are three main overlay tools available, each with different features:
| Tool | Best For | Installation | Mobile Support | Key Features |
|---|---|---|---|---|
| Blue Marble | Beginners | Tampermonkey | Android (via extension-supporting browsers) | Easy coordinate setup, Pin tool |
| Overlay Pro | Advanced users | GreasyFork | Android (via extension-supporting browsers) | PNG import, advanced features |
| Tracer Extension | Casual users | Chrome Store | Desktop Chrome/Edge; Android via Kiwi Browser | One-click install, simple interface |
Recommendation: Start with Blue Marble if you're new to Wplace overlays, as it has the most user-friendly coordinate system.
For detailed setup instructions, check our guides: Blue Marble installation and Overlay Pro setup. If you prefer browser extensions, learn about Wplace Extension options.
Step 3 — Coordinate Alignment and Manual Painting
This is where the magic happens. You'll use your chosen overlay tool to align your template with the Wplace canvas, then manually place each pixel.
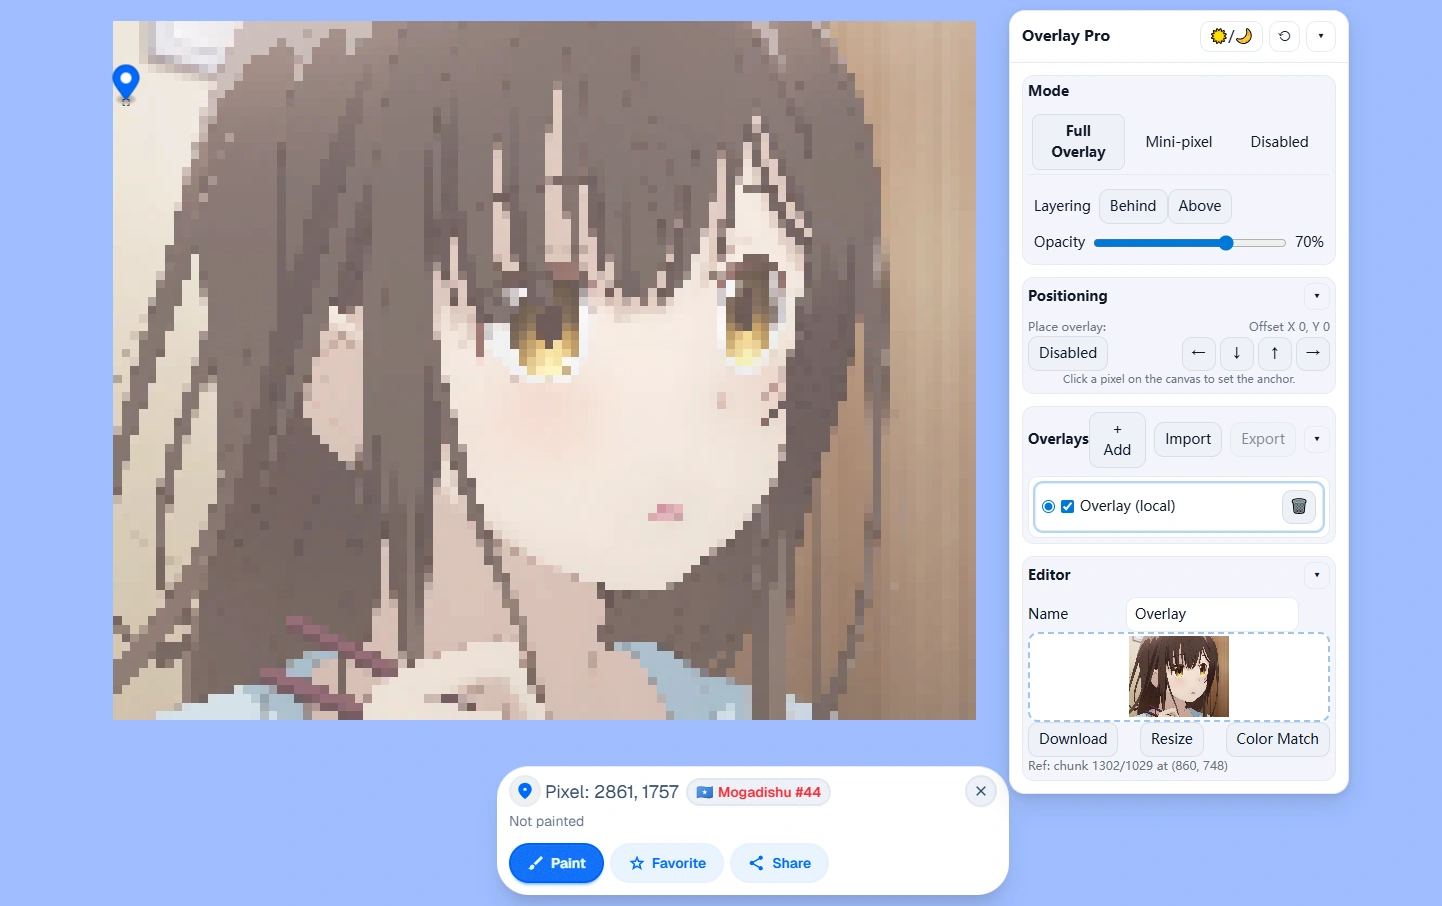
Understanding the Coordinate System
Most overlay tools (like Blue Marble) support coordinate systems where:
- TL X/TL Y: Top-left corner tile coordinates of your image placement
- Px X/Px Y: Pixel-level coordinates for precise positioning
Using Blue Marble for Alignment
- Install the userscript via Tampermonkey
- Navigate to your target area on Wplace
- Use the Pin tool to automatically capture coordinates of your desired top-left corner
- Import your template (PNG or WEBP format)
- Enable the overlay to see your template over the canvas
- Begin manual painting pixel by pixel
Handling Common Issues
- Template not showing: Check that the script is enabled and the image URL is direct
- Misalignment: Verify your TL X/TL Y coordinates are correct and use the Pin tool to recapture if needed
- Transparent colors: Ensure transparent areas are properly handled (
#defaceis Blue Marble's template transparency convention, not an official color)
Remember: The overlay is only for visual guidance. You must click each pixel manually—automation is prohibited.
Safety & Compliance — What's Allowed vs Prohibited
Understanding Wplace's rules is crucial to avoid account penalties or bans. Here's what you need to know:
✅ What's Allowed
- Template overlays for visual guidance
- Manual pixel placement by human users
- Coordination with friends through normal communication
- Using userscripts that only provide visual aids
❌ What's Prohibited
- Automated bots or scripts that place pixels automatically
- Multi-account coordination using multiple accounts simultaneously
- Circumventing cooldowns through technical means
- Malicious content or inappropriate images
Official Terms Reference
According to Wplace's Terms of Service: • Users may not access or use the service through automated or non-human means (including bots, scripts, etc.) • Users are prohibited from using or launching unauthorized scripts or software
The overlay tools described in this guide are commonly used in the community for visual reference only and do not automate pixel placement. However, their "authorization status" has not been explicitly confirmed by Wplace for each tool.
Important: Always manually place each pixel and refer to the latest official Terms of Service and announcements for current policies. For comprehensive rule coverage, see our Wplace Rules guide. Use these tools at your own discretion and compliance responsibility.
Mobile & Device-Specific Instructions
While overlay tools work best on desktop, mobile users have some options:
Android Users
- Browser requirement: Use extension-supporting browsers like Kiwi Browser or Firefox (Chrome Android doesn't support extensions natively)
- Tampermonkey support: Install Tampermonkey through supported browsers
- Performance note: Experience may vary by device; reload page if template positioning issues occur
iOS Users
- Safari extensions: Available through Tampermonkey for Safari or Userscripts extensions, though compatibility varies by script
- Alternative approach: If extensions don't work, generate templates on desktop and use reference screenshots on mobile
- Testing recommended: Script compatibility should be tested before relying on mobile workflow
Desktop Users
- Full compatibility: All overlay tools work optimally
- Multiple browsers: Chrome, Firefox, and Edge all supported
- Best performance: Fastest and most reliable experience
Troubleshooting Common Issues
Even with proper setup, you might encounter some problems. Here are solutions to the most common issues:
Template Display Problems
Issue: Template appears black or doesn't show
- Solution: Check that your image URL is a direct link
- Verification: Try opening the image URL directly in a new tab
Issue: Only 3 colors showing in template
- Solution: Ensure your image is properly converted to Wplace colors
- Check: Verify the color palette conversion was complete
Script Activation Issues
Issue: Overlay tool not activating
- Solution: Refresh the page and ensure Tampermonkey is enabled
- Check: Verify the script is installed and active in Tampermonkey
Issue: Extension conflicts
- Solution: Disable other extensions temporarily to identify conflicts
- Fix: Use only one overlay tool at a time
Coordinate Problems
Issue: Template appears in wrong location
- Solution: Double-check your TL X/TL Y coordinates
- Tip: Use the Pin tool to recapture coordinates and ensure 1:1 pixel ratio
Issue: Alignment drift during painting
- Solution: Periodically verify coordinates and re-enable overlay if needed
Frequently Asked Questions (FAQ)
Q1: Can I upload an image directly to Wplace?
A: No, as of 2025, Wplace doesn't provide an official feature for direct image uploads with automatic pixel placement. You must use the overlay method described in this guide to manually place pixels while following a template.
Q2: Are overlay tools like Blue Marble allowed?
A: These tools are commonly used in the community for visual reference only and don't automate pixel placement. However, Wplace's Terms of Service prohibit unauthorized scripts. Please manually place each pixel and refer to current official terms for compliance guidance—use at your own discretion.
Q3: How do I determine the correct TL/Px coordinates?
A: Use the Pin tool in Blue Marble by clicking on your desired top-left corner position. The tool will automatically capture and fill in the correct TL X/TL Y coordinates for you.
Q4: Why doesn't my template appear?
A: Common causes include: script not enabled, incorrect image URL (must be direct link), transparent colors not properly handled, or browser caching issues. Try refreshing and re-enabling the overlay.
Q5: Can I use these tools on mobile devices?
A: Android devices can use overlay tools through extension-supporting browsers like Kiwi Browser or Firefox (Chrome Android doesn't support extensions). iOS devices can use Safari extensions like Tampermonkey for Safari, though compatibility varies by script. Reference screenshots remain a reliable fallback method.
Q6: Which overlay tool should I choose?
A: Blue Marble is best for beginners due to its user-friendly coordinate system. Overlay Pro offers more advanced features for experienced users. Tracer Extension provides the simplest installation via Chrome Web Store. For beginners who want to master basic pixel placement first, check our How to Draw on Wplace guide.
Get Started with Wplacemaker Tools
Ready to put your first image on Wplace? The integrated Wplacemaker workflow makes the process seamless:
Complete Workflow
- Convert colors using the Color Converter
- Generate template with the Template Generator
- Follow overlay guides for Blue Marble or Overlay Pro
- Place pixels manually while following compliance rules
Why Choose Wplacemaker
- Privacy-focused: All processing happens locally on your device
- Compliance-assured: Tools designed to work within Wplace rules
- Community-supported: Regular updates and troubleshooting help
- Complete toolkit: Everything you need in one place
Next Steps
- Start with our Color Converter to prepare your image
- Generate your template with our Template Generator
- Follow our detailed Blue Marble Guide or Overlay Pro Guide
- Check our Wplace Rules Guide for ongoing compliance
Remember: Success on Wplace requires patience and manual effort. Overlay tools make the process easier and more accurate, but they can't replace the human touch that makes Wplace special.
This guide is maintained by the Wplacemaker community and is not affiliated with the official Wplace platform. Always verify current rules and policies on the official Wplace website.